For a new project I am writing a small web application in the Go language. From the off I wanted to have a server setup to host the application so I can more easily test everything out. Being something of a DIY tech head I thought I’d use my QNAP NAS system to run the server since the hardware mostly just hosts my Time Machine backups at the minute and not much else.
QNAP has an application called Container Station which provides an easy way to setup web applications through Docker or run Linux instances with LXC. I’ve previously used this to setup a CouchDB instance with Docker so I decided to install Ubuntu as an LXC container to see if I could get it to run my web server.
Installing the Ubuntu is just a case of selecting “Create Container” and searching for “Ubuntu” and clicking the install button on the LXC listed item. Give the container a memorable name when prompted and then hit the button to create it.

Search for Ubuntu through the Create Container panel
Once created you can select the container from the containers list on the right to see its status and a console. It’s not immediately obvious but if you start typing the console give you a prompt. Also you can click the little arrows in the top right of the console panel to open a new tab with a console that fills the window.
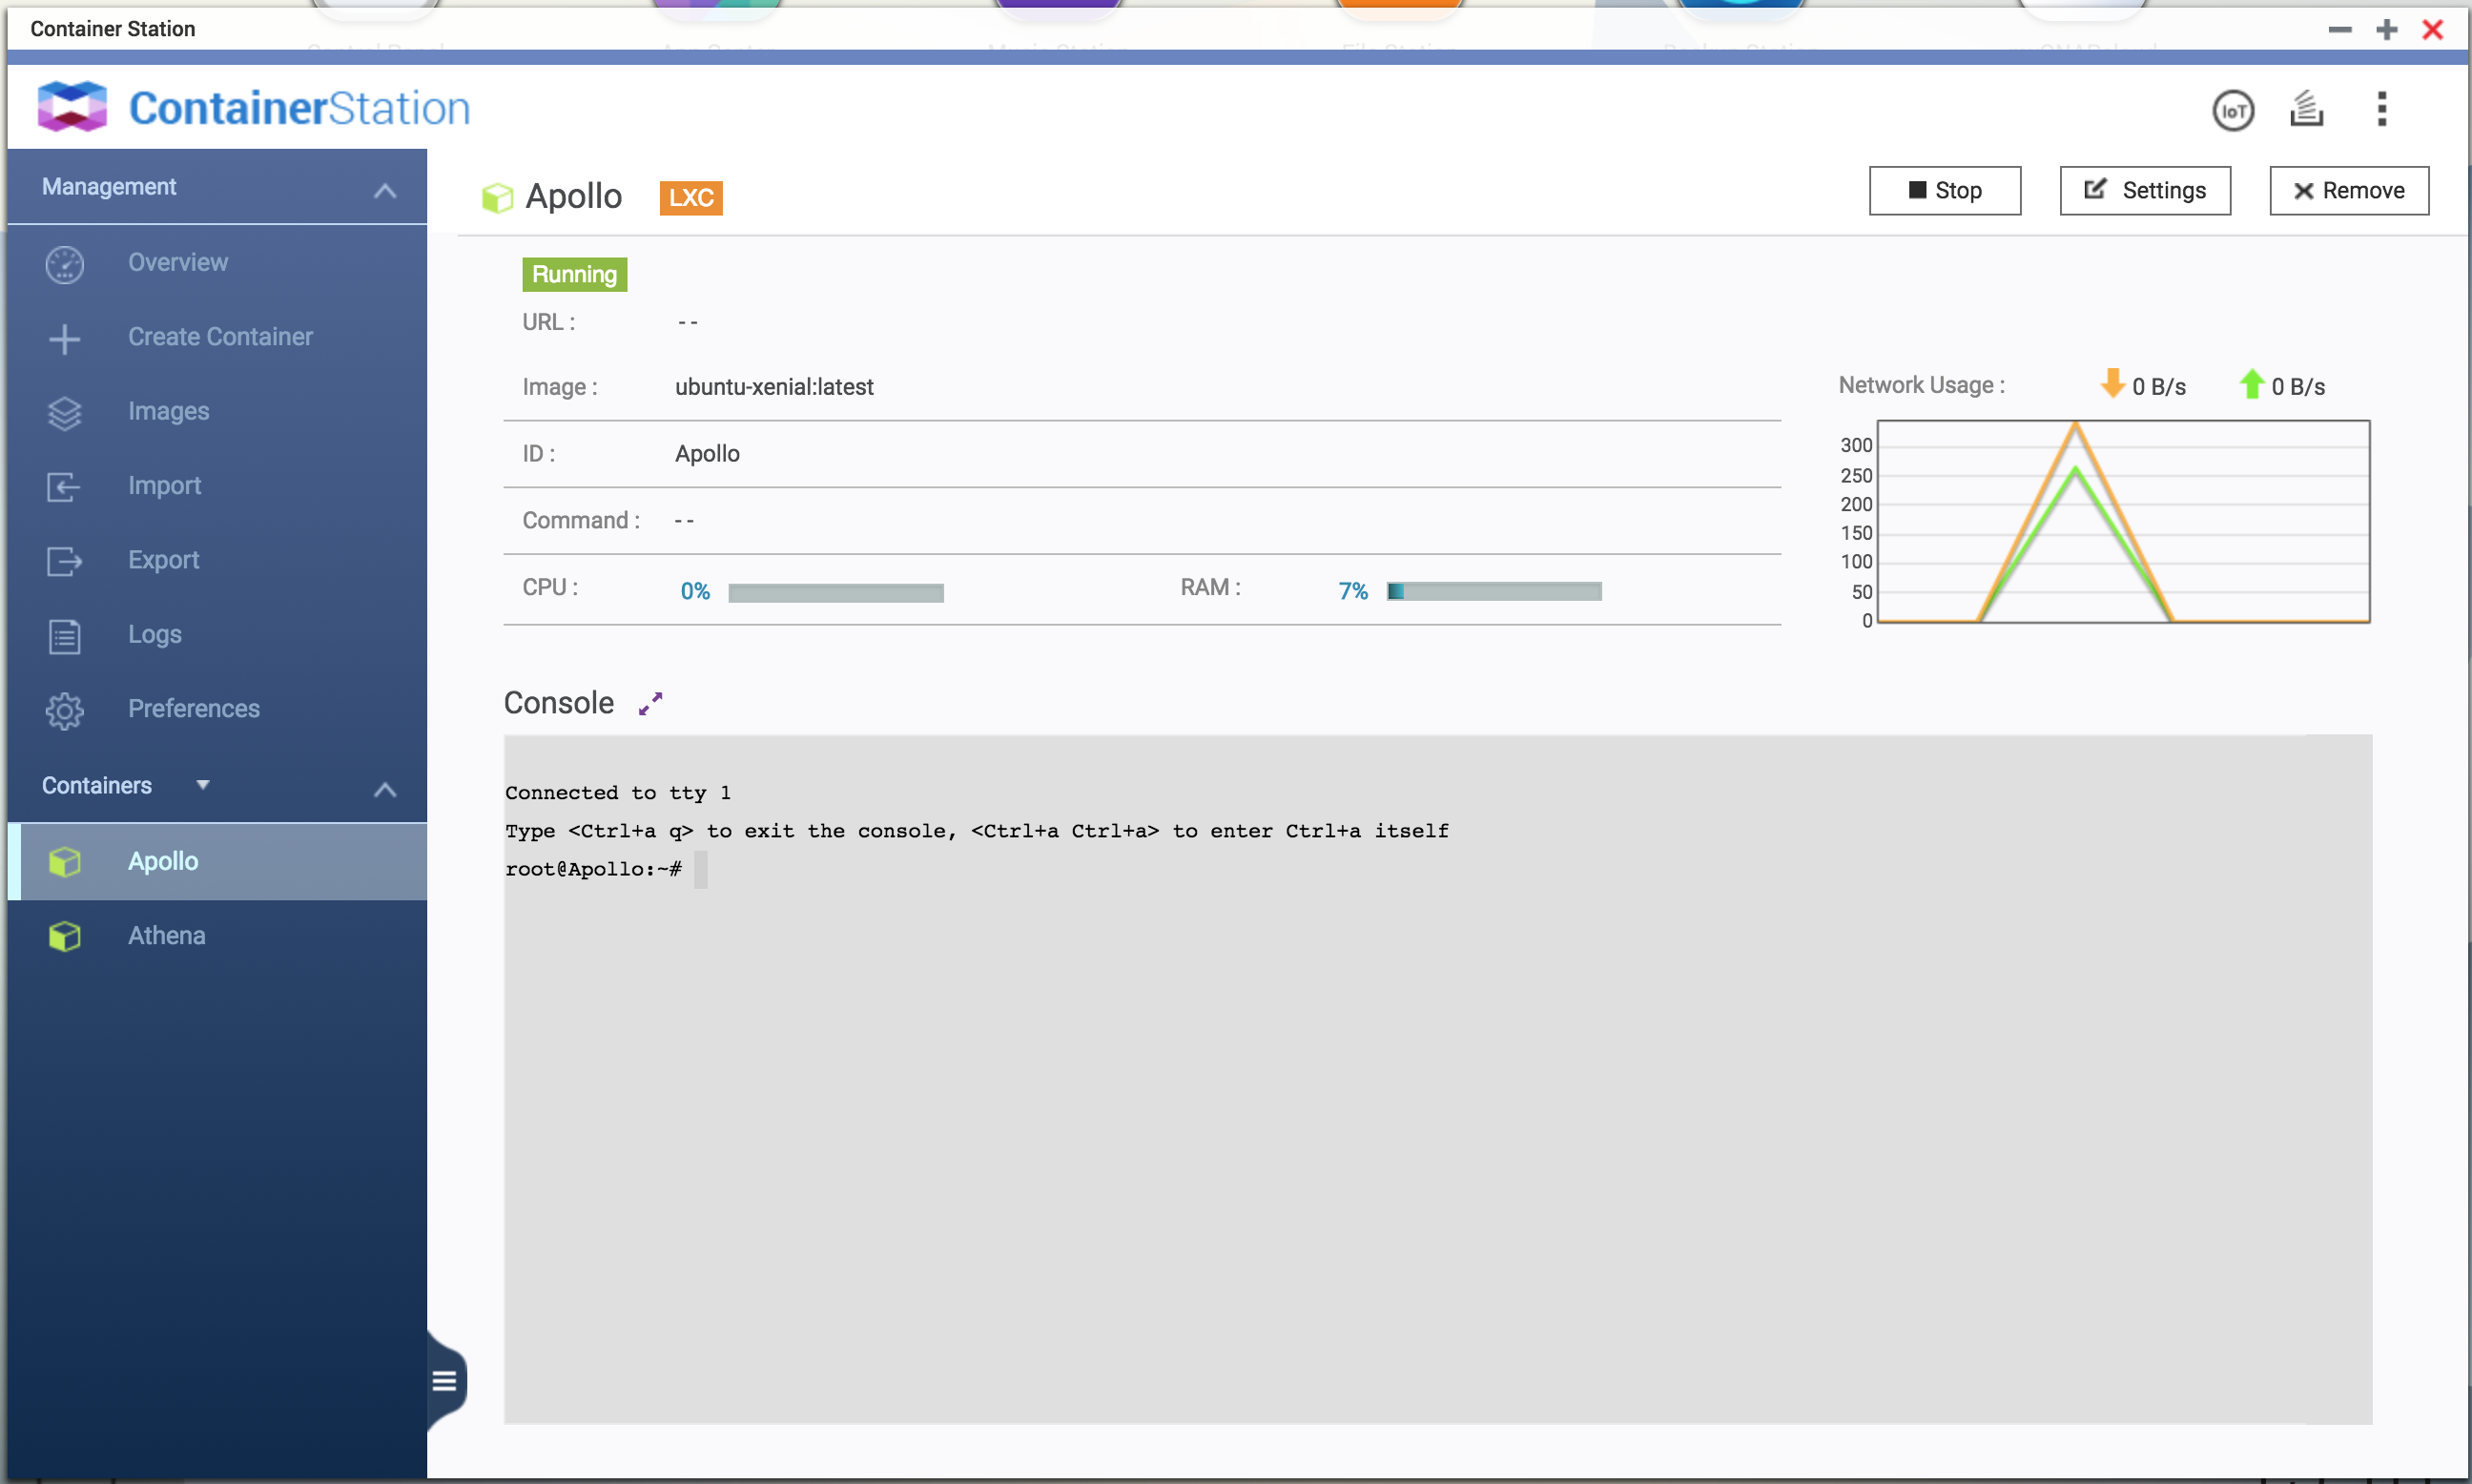
The console is the grey area. Start typing to get the prompt to appear!
Now the initial installation of Ubuntu is really light weight so its time to install some stuff. We want to be able to ssh into the server from any machine on our network so update the package manager and then install openssh by running the following commands.
apt-get update
apt-get install -y openssh-server
We can’t be connecting as root so you’ll want to create a new user in the sudoers group so you can do everything else over ssh.
adduser
username
Follow the prompts to enter the password and the optional information that follows. Once your user is created make them a super user with the following command
usermod -aG sudo
username
Now we’re done. Almost. We have our ssh server and a user account but we still can’t connect because our container’s ssh port (22) isn’t exposed to the outside world. So back in the Container Station interface, open the Settings panel for the container. Select “Advanced Settings >>” to see the Network settings that allow you to control port forwarding. In the Port Forwarding table click the “Add” button to add an entry.
A new row is added to the table, you should then provide a port number for the host that will be mapped to your container’s ssh port. You can see my settings in the image below. Once you’re happy click “Apply” and the container will restart.
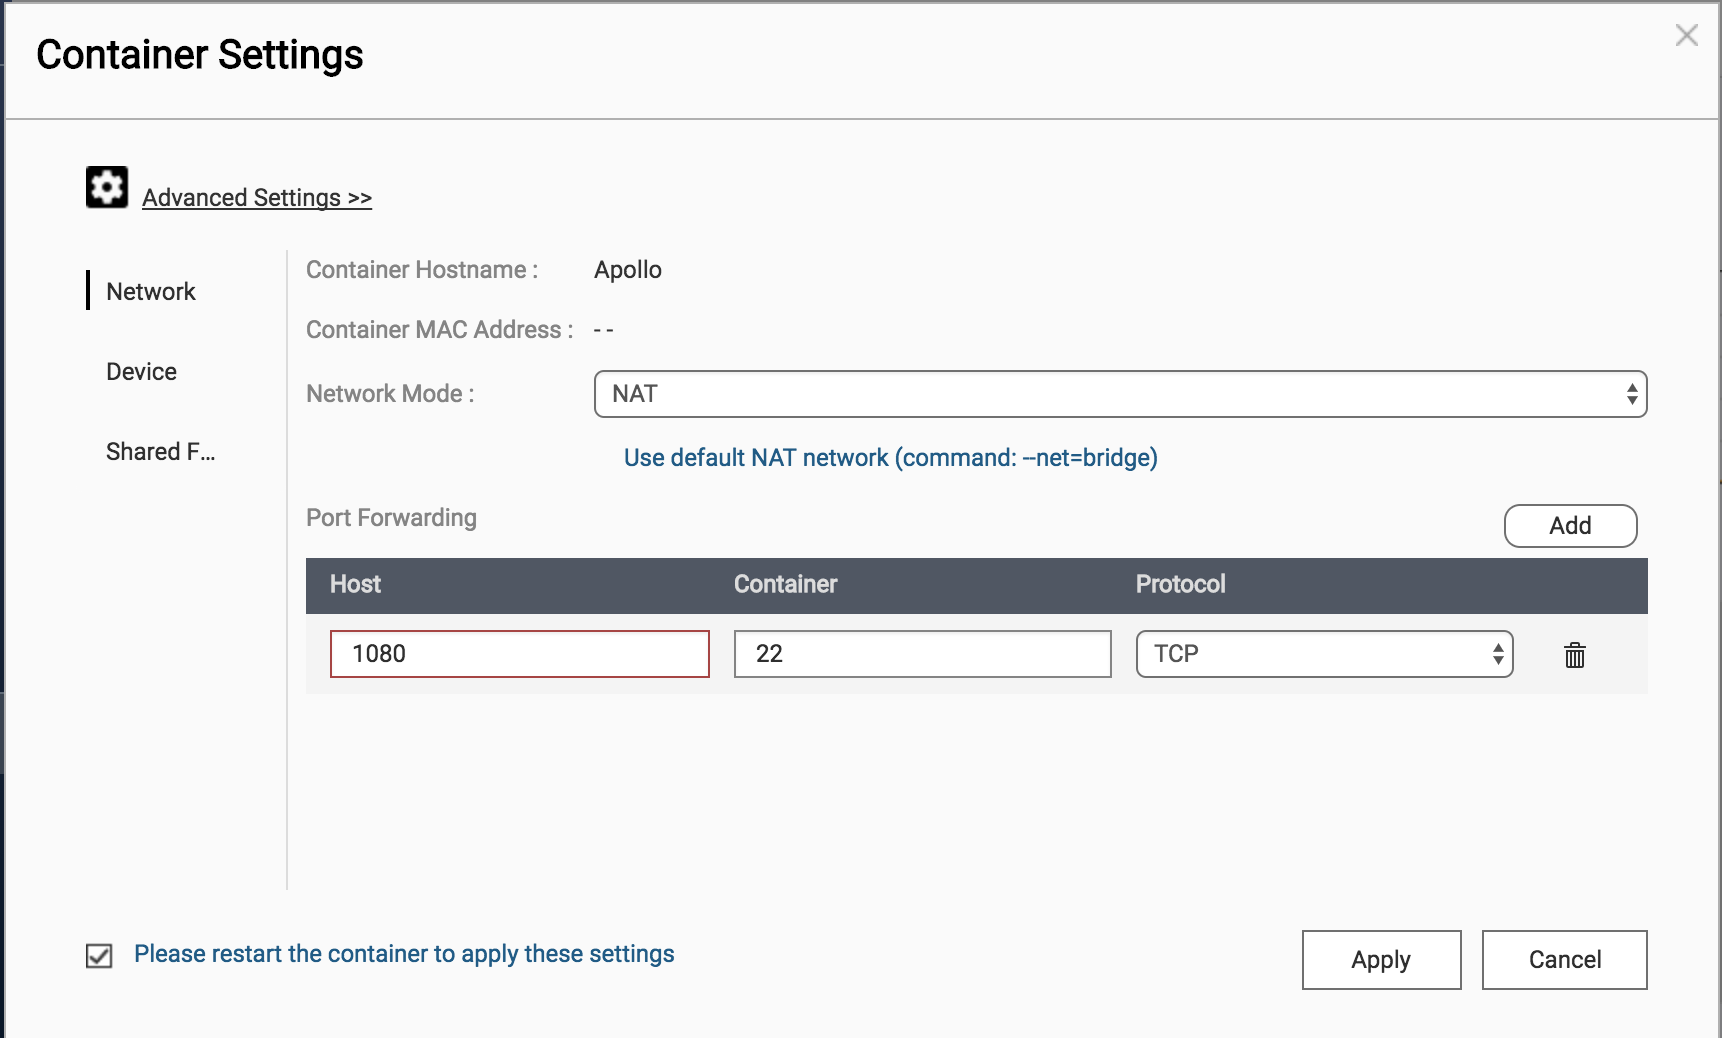
The advanced container settings hide the NAT options
.
Now you should be ready to ssh in from your desktop machine. Open a terminal (I’m using a Mac) and then run the following command to connect to your container.
ssh
username
@
serveraddress
-p
hostport
Where username is the name of the user you setup, serveraddress is the IP address of your host server (Not the container) and finally hostport is the port number you entered for host in the port forwarding table.
If the wind is blowing in the right direction and geek gods are pleased with your work, you should be prompted for your password and then connected.
So that’s how I setup my initial server. In future post I’ll take this barebones server and get it to run a web server of my own creation. Thanks for reading.