Introduction
I’ve put together a couple of side projects with SDL2 over the years. I like the library because of it’s simplicity and how it provides a quick way to throw together a cross platform project. This post is a reasonably comprehensive guide to how I set up an Xcode 9 project that links to the latest SDL2 framework. There are other ways to do it, but this is mine.
Laying the groundwork
Setup folders
We start by creating a skeleton project for our game. I always start by putting together a simple folder hierarchy to keep things organised. First create a top level folder with a sensible name for the project, with two child folders, called Applications and ThirdParty. The Applications folder will be for games, demos and any helper tools we write during development. The ThirdParty folder contains all the third party libraries will be pulling into the project over its lifetime. As we go along we’ll add more folders into this hierarchy but this is a good place to start.
Get SDL2
Next, download the SDL2 Mac OS X development framework from the download page. Mount the disk image and then copy the contents into an SDL2 folder inside the ThirdParty folder of the project. I’ve downloaded version 2.0.8 so I’ve named the parent folder SDL2-2.0.8. By versioning the folder name I’ve made it easy to figure out which version I’m actually using, and if I test out newer versions they can be in similar uniquely names folders.
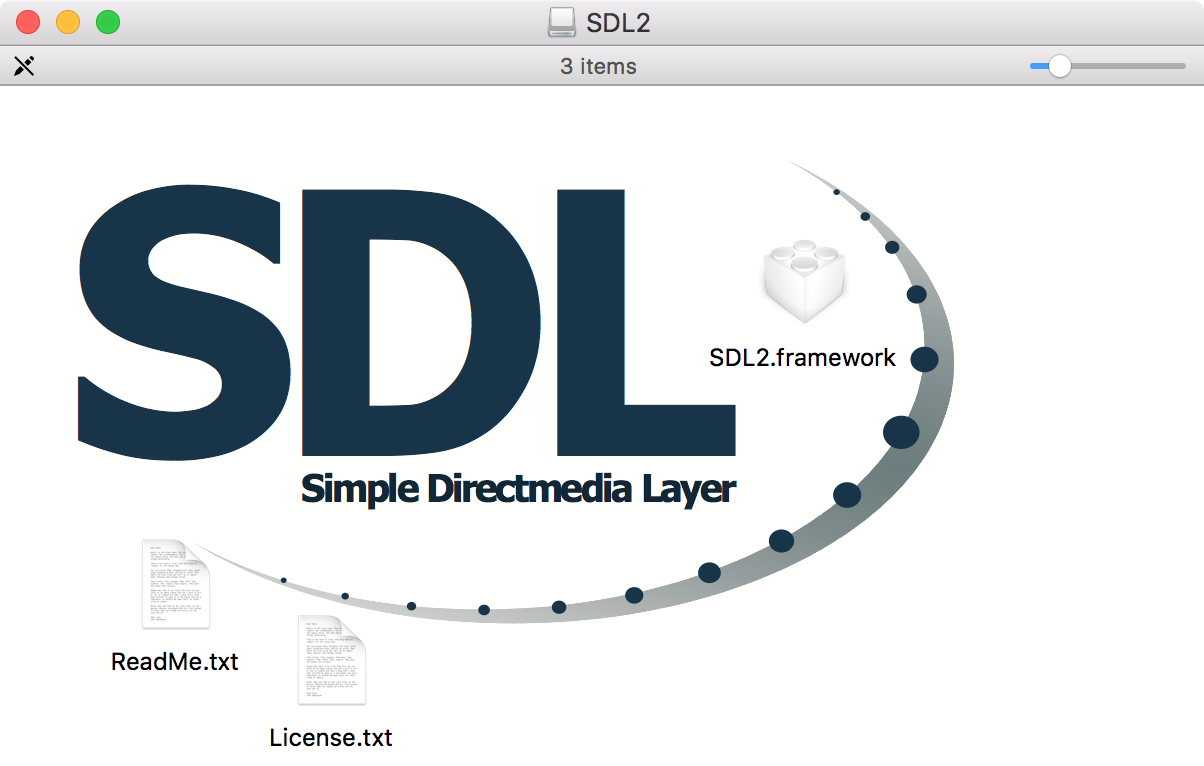
The SDL2 distribution downloaded from sdl.org
Create a new project
Now that’s done, launch Xcode 9, the from the menu bar select File -> New -> Workspace… to begin creating the workspace for our project. Name the workspace after the main project folder and save it inside it.
Next up we create our first game project. Go to File -> New -> Project… then select “Cocoa App” on the macOS project tab and hit next. On the next page enter the game’s name as the Product Name and provide whatever information you like for Organization Name (It can be your name). The Organization Identifier should be a reverse URL, so if you have a domain that you own something com.mywebsite is a good thing to use. This should be something that is unique to you. Lastly make sure to set the Language to Objective-C and hit Next.
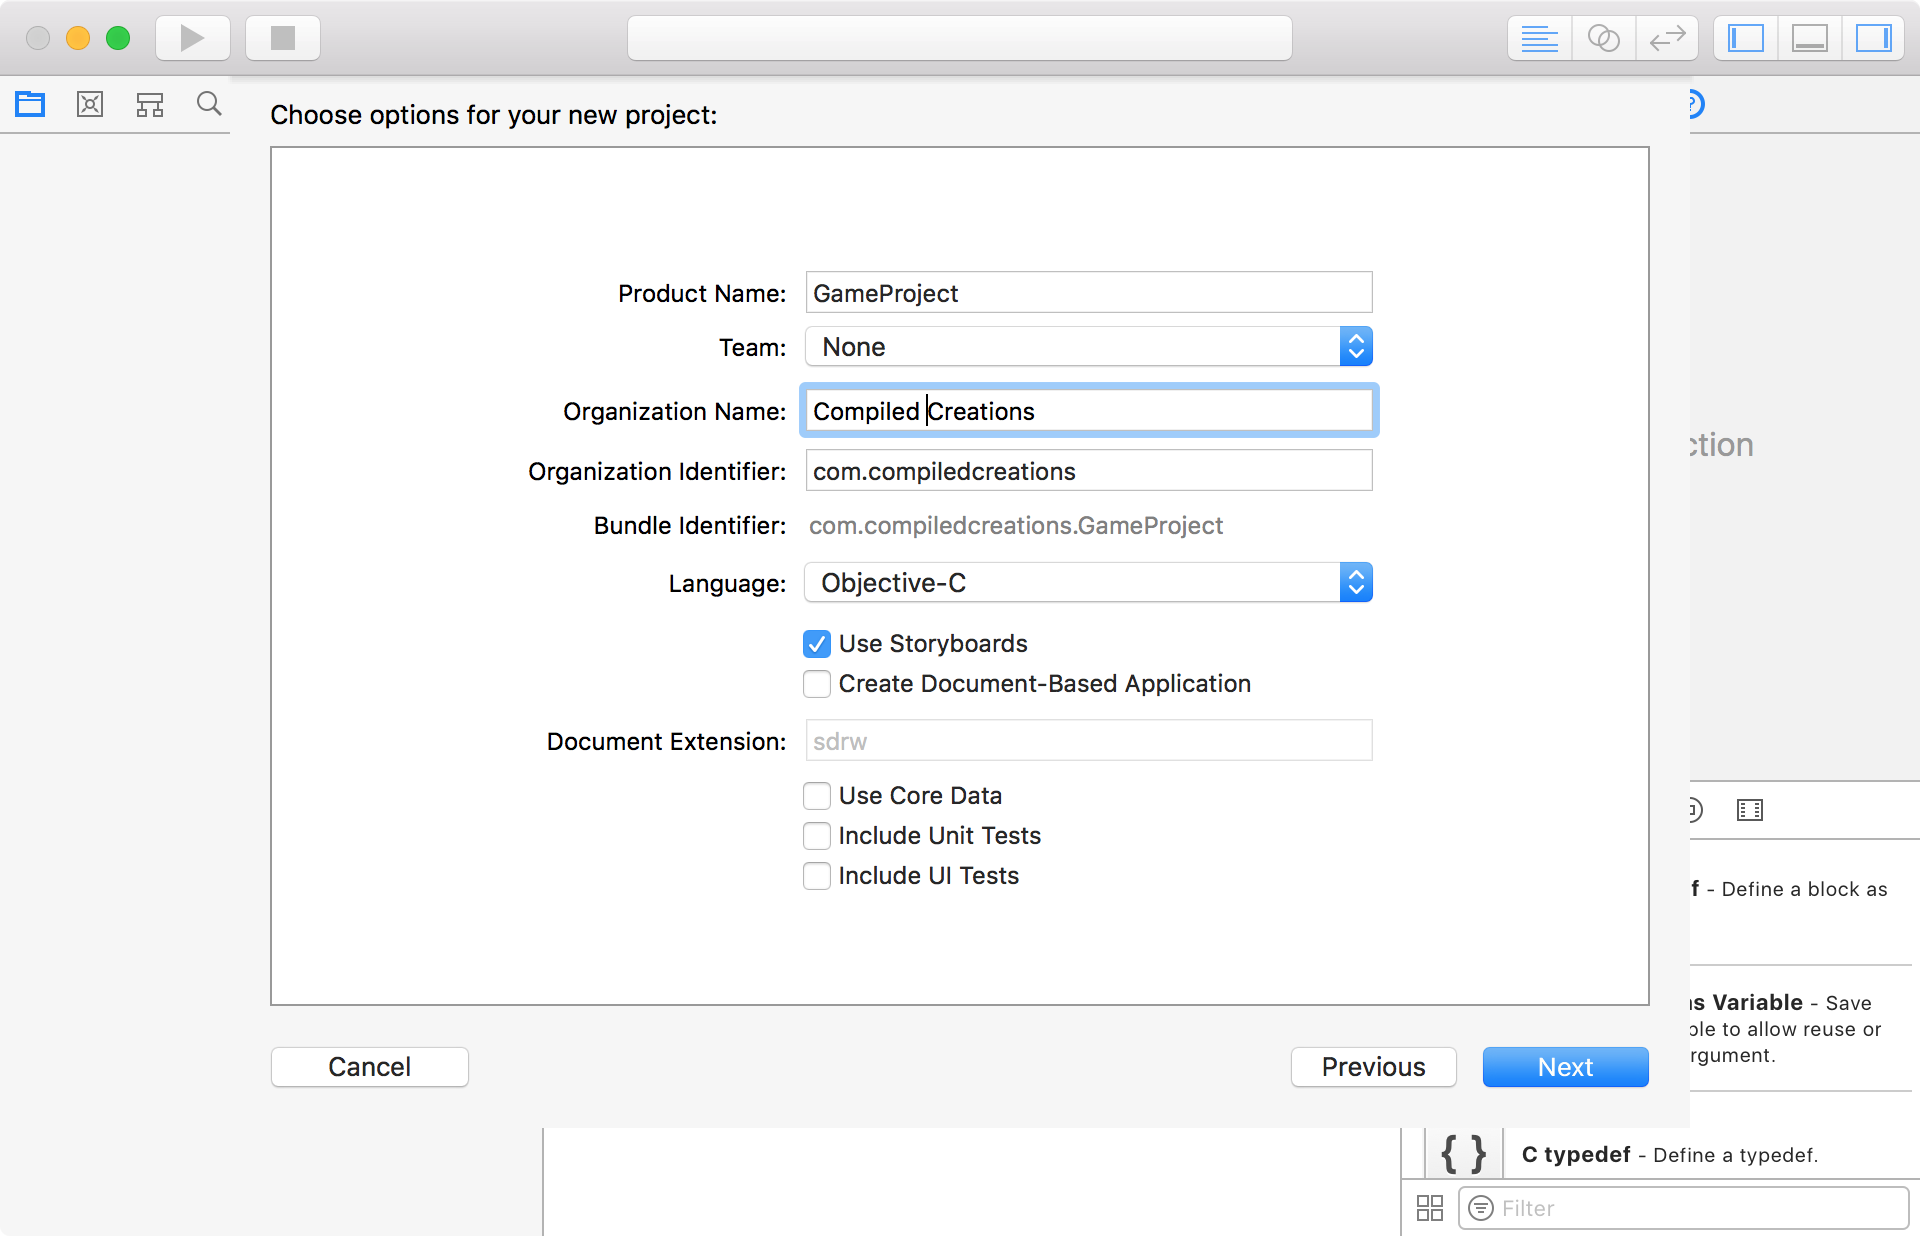
The project setup dialog should end up something like this
You will now be presented with a file navigation panel. Select the Applications folder in your project tree and select your workspace in the “Add to” popup button. Make sure to have the “Create Git repository” option deselected. Hit the Create button and your project will be created and added to your workspace and source tree. Compile and run it just to make sure everything is good.
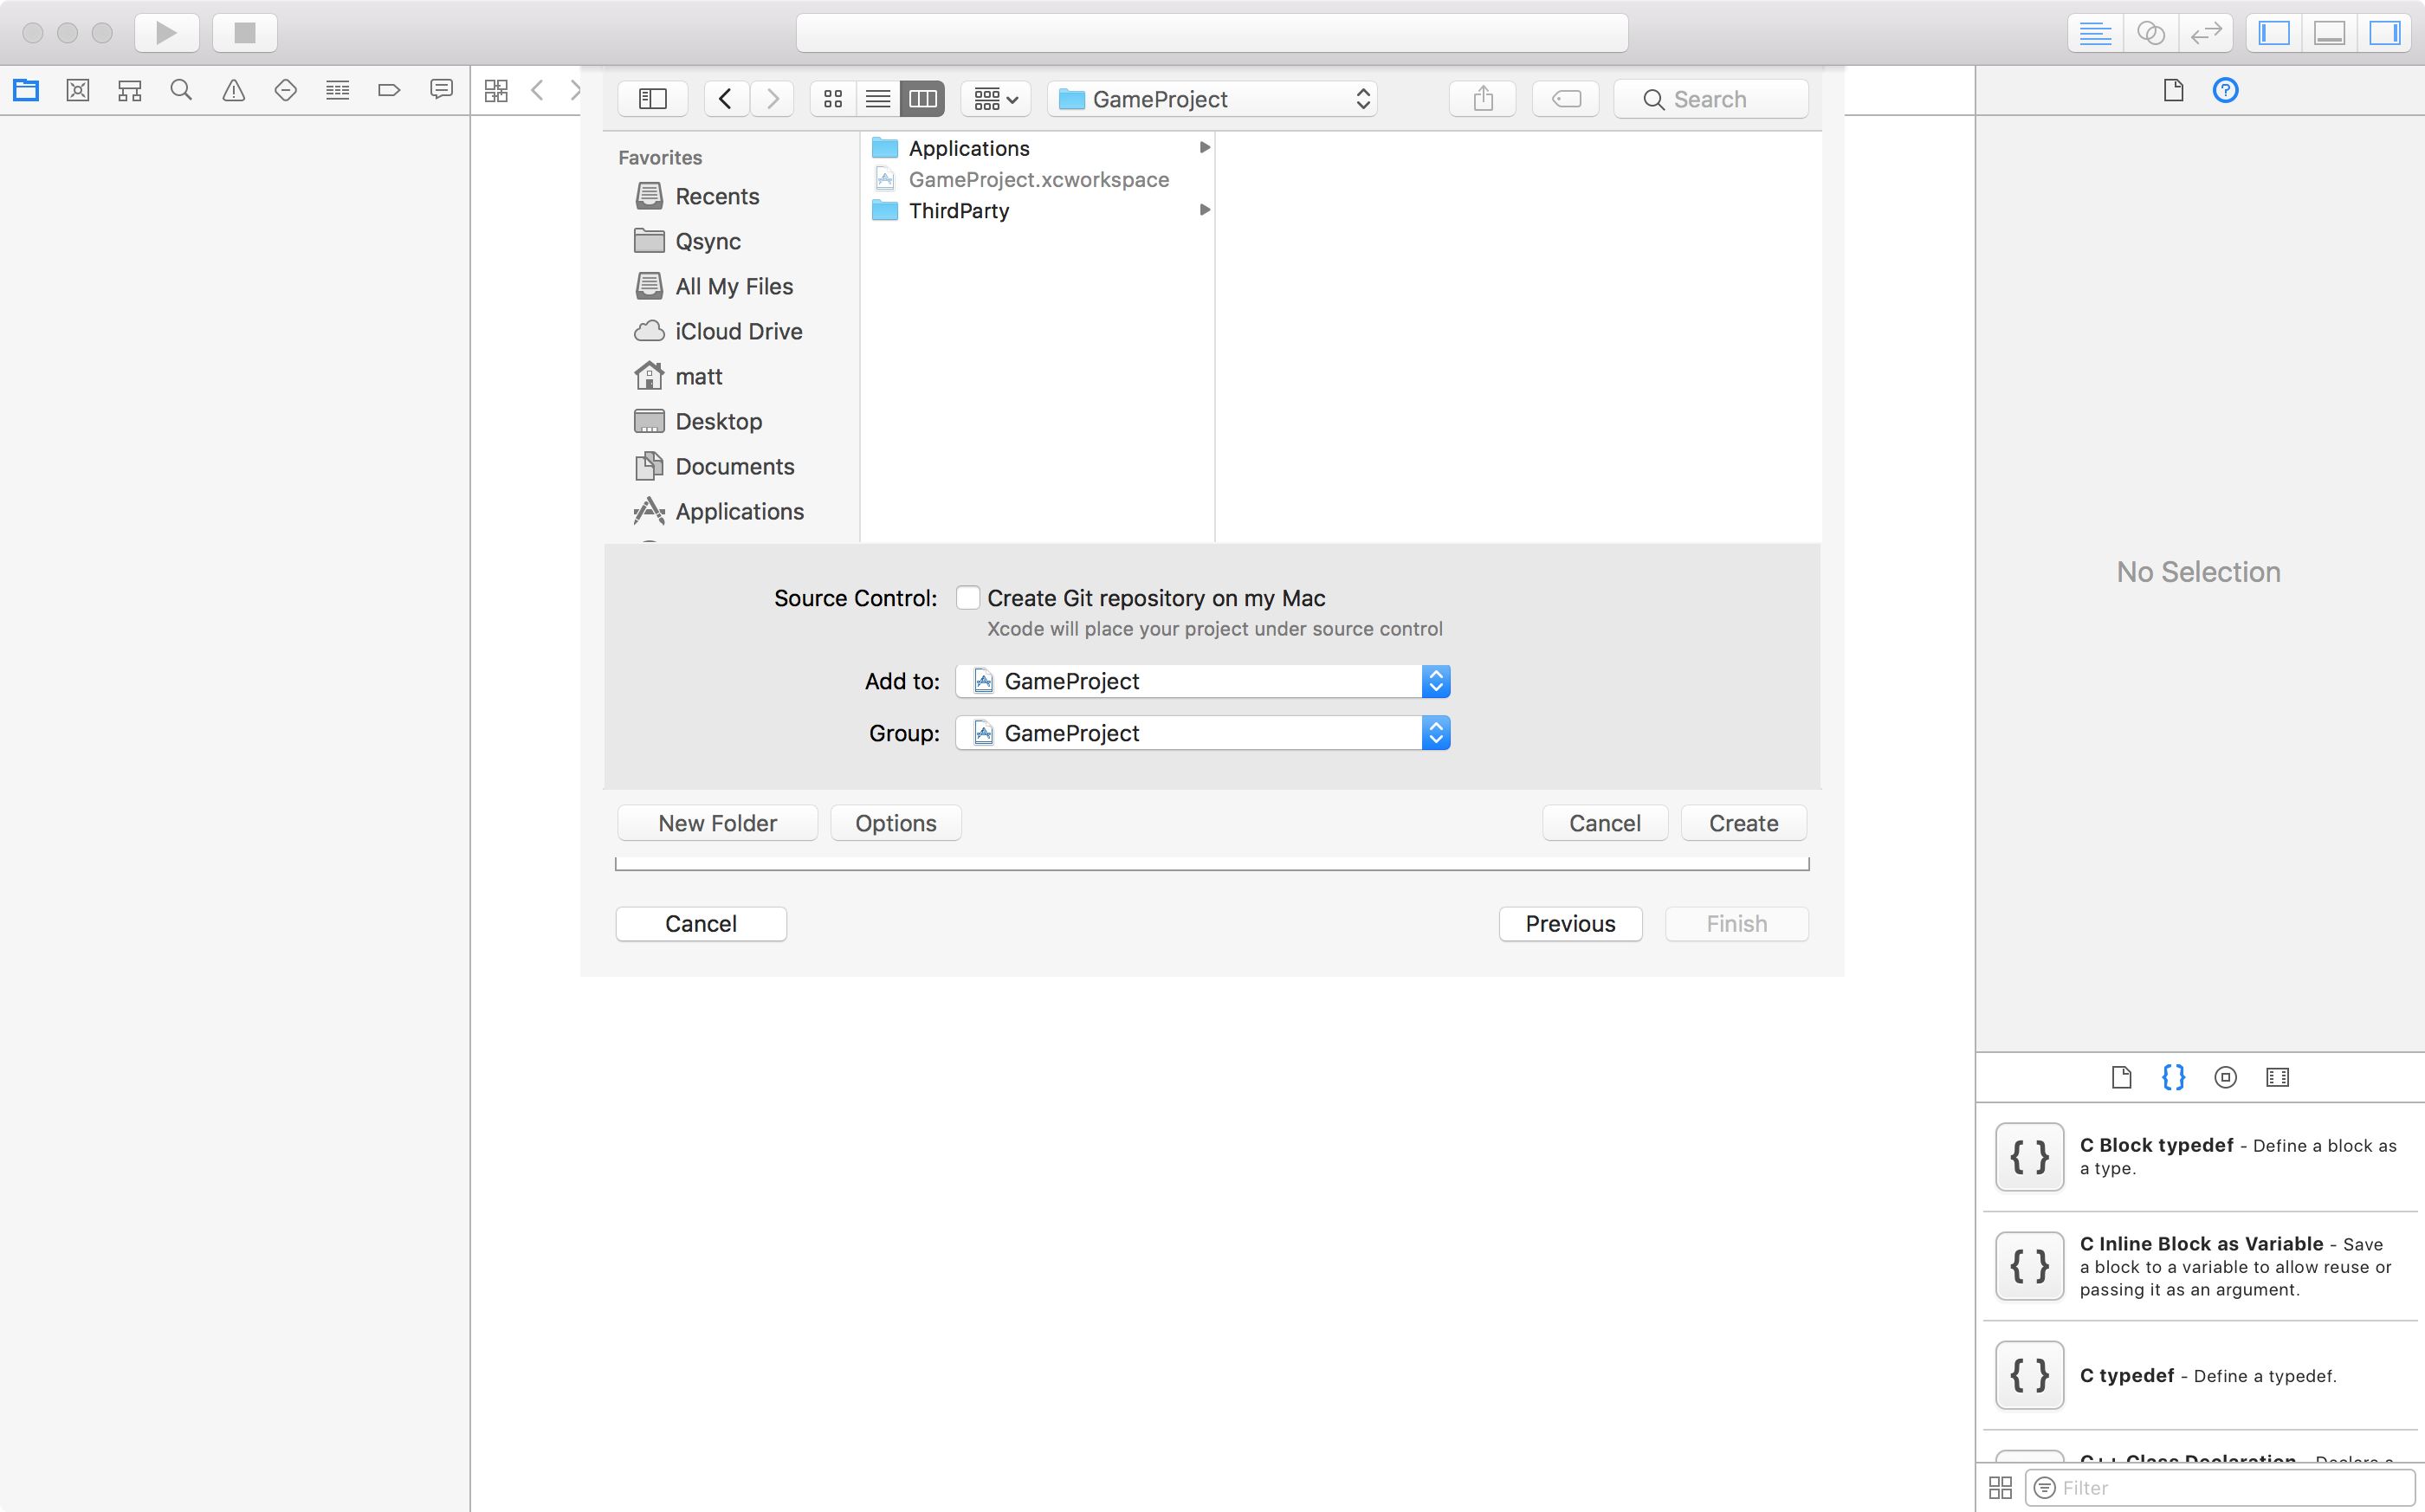
Add the project to your workspace
You should now have a folder structure that looks something like this.
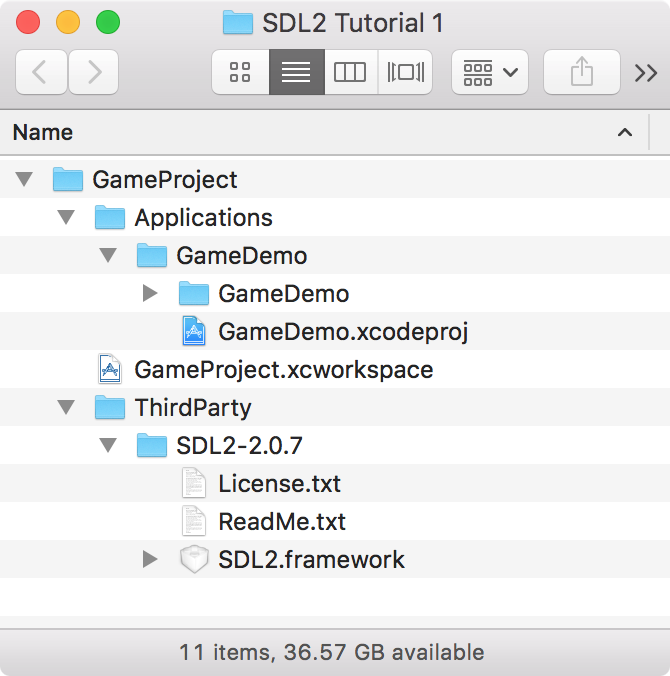
My project source tree
Now is a good time to setup up your source control. If you need some help try using a GUI client like SourceTree to make your life easier.
Project Configuration
Linking to the SDL2 Framework
Before we can start writing code that calls SDL2 functions we need to get our Cocoa project linking to the framework. Select the project icon in the Project Navigator to bring up the settings. You should see the project listed and below it the list of targets (You should have only one unless you created the unit test targets). If you don’t see the list you can use the “Show project and target list” button to toggle it.
From the list select the project and then switch to the Build Settings tab. You should now see the list of build settings for the entire project. We need to set two properties, the “Framework Search Path” and the “Other Linker Flags”.
Click in the search box in the top right of the settings interface and type “Framework Search Paths” to filter out all the other settings. Double click the value column to show a popover containing an empty table. Click the + button at the bottom of the table to add a new row. Then in the text box provide the relative path to the SDL2 framework. If you followed my project layout this should be “$(SRCROOT)/../../ThirdParty/SDL2-2.0.8/”, where SRCROOT is a build variable of the absolute path to your project’s source folder. Commit the change by closing the popover and then build the project to confirm the setting is right (You will see a warning if the path is wrong). Another way to add the path is to drag the folder from the finder onto the popover, so try that if you are having trouble.

Get those linker settings right
Next we’re going to use the “Other Linker Flags” to tell the linker to actually link to the framework. Again use the search box to find the setting by typing in its name. Flags are added in a similar way using a popover, so double click the value and this time add “-framework SDL2” to the table. Commit the change and compile again to check for warnings.
Cleaning up
By now you must be itching to write some code, don’t worry, we’re nearly there! Since we created a Cocoa project, we have a load of files that we don’t really need. In the Project Navigator remove all the files except Assets.xcassets, Info.plist and main.m. You can just trash these when prompted as they aren’t needed.
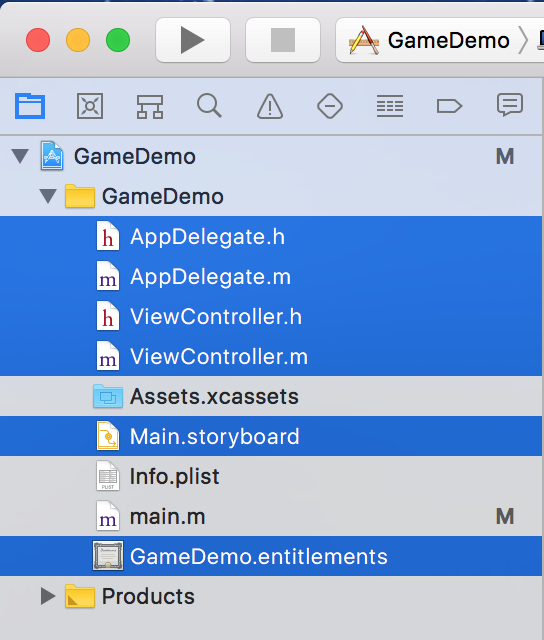
Remove Cocoa application files from the project
Select Info.plist and use the editor to remove the “Principal class” and “Main storyboard file base name” entries.

You can see the entries at the bottom of the plist table
Now select the project and switch to the build settings for the game target. Find the “Code Signing Entitlements” entry and delete its value by selecting the row and pressing backspace.
Back in the navigator, select “main.m” and rename it to “main.cpp” so it’s a C++ source file and let’s get coding.
Initialising SDL2
Getting it to run
Your project won’t compile now because we’ve turned main into a C++ file. You need to remove the Cocoa code from the file and replace the import line with SDL2. Copy and paste the following template code into your project and compile.
#include <SDL2/SDL.h>

int main(int argc, const char * argv[])
{
  return 0;
}
Hit build and everything should now compile without errors, although you may see some documentation warnings, don’t worry about those for now. If you run your project it will crash but don’t despair.
The crash is happening because the game can’t load the SDL2 framework when it starts up. You will see an error like this…
dyld: Library not loaded: @rpath/SDL2.framework/Versions/A/SDL2
 Referenced from: /Users/matt/Library/Developer/Xcode/DerivedData/GameProject-bgrxagthhfzeogcjdpudiszknepu/Build/Products/Debug/GameDemo.app/Contents/MacOS/GameDemo
 Reason: image not found
To fix this, switch the target view in the project settings again, but instead of “Build Settings” select the “Build Phases” tab. We need to add a Copy build phase that will copy the SDL2 framework into the application bundle during the build process. You should see a + button at the top of the phases list. Click that and select “New Copy Files Phase”.
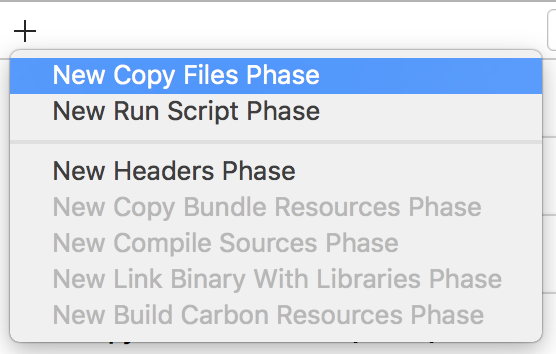
The “Add Build Phase” menu button in the editor
A new panel will be added to the bottom of the phases list entitled “Copy Files (0 items)”. Double click the title and rename it to “Copy Bundle Frameworks”. Click the drop down arrow to expand the panel. Set the “Destination” pop-up value to “Frameworks”. Now locate the SDL2.framework file at the framework path in the Finder and drag and drop it into the table that says “Add files here”. You will be prompted to add the file, so make sure that “Copy items if needed” is unselected, then hit the “Finish” button. Two things will happen, the framework will be listed in the copy list and you will see it appear in the file list in the project navigator. In the copy files list, deselect “Code Sign On Copy”. Finally compile and run your project, it should start up without crashing this time and then close immediately.

The copy build phase should look like the above
If you don’t like seeing the framework in your project navigator right-click the project and select “New Group without Folder”, name the group “Frameworks” (Or something equally sensible) and then drag the framework into the group to hide it. This is a good idea to keep things organised as your project grows and you add more frameworks to it.
Calling the framework
The last thing we’ll do is actually make some SDL2 calls. We won’t do much, just attempt to initialize the library and then shutdown cleanly but this will prove that everything is really working. Add a call to SDL_Init and SDL_Quit as show below.
#include <iostream>
#include <SDL2/SDL.h>

using std::cout;

int main(int argc, const char * argv[])
{
  if (SDL_Init(SDL_INIT_EVERYTHING) != 0)
  {
    cout << "Failed to initialise SDL\n";
    return -1;
  }

  cout << "Hooray it works!\n";
  SDL_Quit();

  return 0;
}
These calls are quite self-explanatory but you can get more information from the SDL2 wiki here. We must use SDL_Init to setup the framework and specify which feature sets to load. We pass SDL_INIT_EVERYTHING because we’re not being choosy and don’t really know what we need. If the init call fails it will exit by returning a non-zero value from our main function. The call to SDL_Quit just shuts everything down cleanly, it may not hurt to leave it out but we should include it for completeness. As you can see I’ve also included some logging to stdout so we can confirm that something is actually happening. With all that in place compile and run to confirm everything is working.
Some last tidy up
You will notice that even though everything compiles there are warnings listed. These are caused by the documentation comments in the SDL headers. You could disable these warnings globally by changing the project settings, but warnings are generally useful so we shouldn’t do that. Since these aren’t our fault we can still hide them by using a #pragma to get the precompiler to change the flags for the include. Add the 3 #pragma lines around the SDL2 include statement in main.cpp as demonstrated below.
#pragma clang diagnostic push
#pragma clang diagnostic ignored "-Wdocumentation"

#include <SDL2/SDL.h>

#pragma clang diagnostic pop
Next time you compile the build should complete with zero warnings.
Done
Congratulations! If you got this far and everything builds without errors or warnings and runs without crashing you have overcome the first hurdle to game programming with SDL2. Let me know how you get on in the comments.
So what’s next? Get googling for tutorials for on how to display a window, start processing events and drawing to the screen. In a future post I’ll expand on this work by implementing a working game loop that you can use as a building block for a real game.
I’ve uploaded the project to Github so feel free to grab the code from their if you need it.
Thanks for reading.